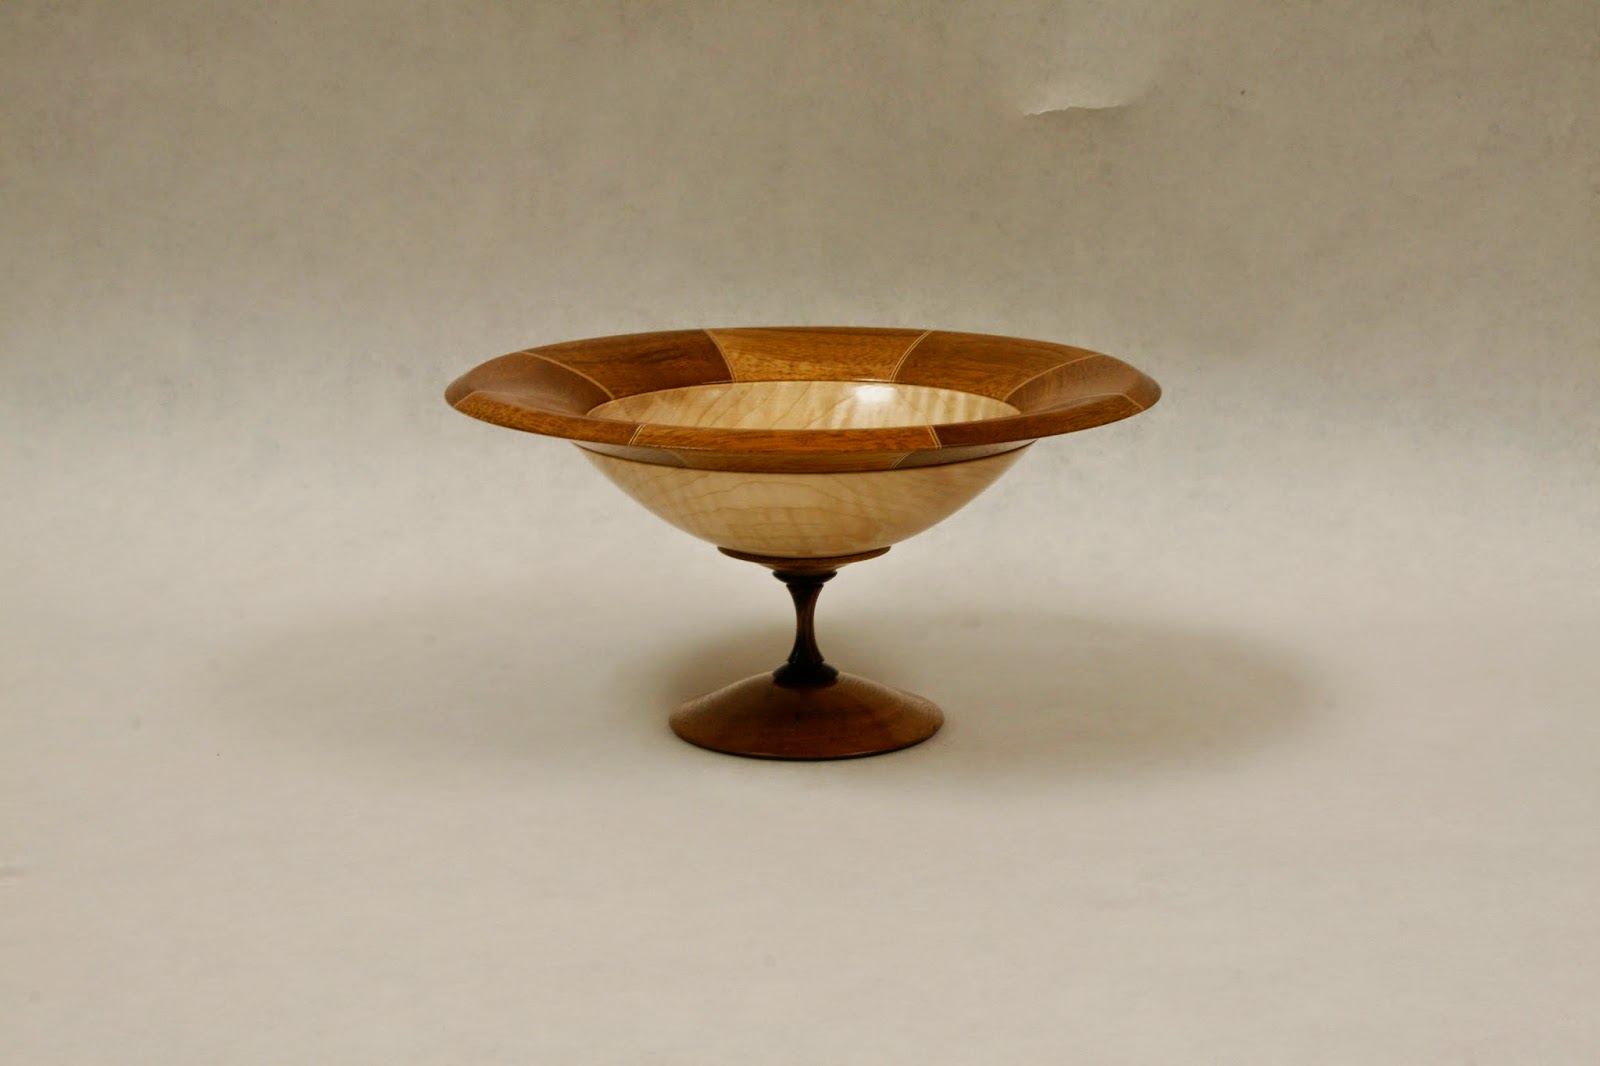
Pedestal Bowl
 This was a fun piece to make. I don't do many bowls. I love making bowls, I just like making vessels or boxes more. Sometimes though as an artist, I have to listen to what my materials want to be. No, the wood didn't speek to me. I had a block of Curly maple I purchased. Not because I had a project in mind or something already started that needed to be finished, but because it was a good deal and it has some nice simple curl in the wood grain. I try not to purchase any wood without an immediate purpose. I don't have enough money laying around that I can tie it up into wood. This was a nice piece and sometimes you can't let a nice block of maple go.
 I found I had a fare amount of mahogany scraps that I wanted to use up. I had done some reading some where that talked about how Mahogany was a good material for segmented turning. I liked the contrast of this curly maple block with the mahogany scraps so I spent some time looking for a way to marry the two together.
 I guess I need to stop here and make a small disclaimer. I don't like to waste things. I'm no hoarder but, I try to get as much as I can out of my materials. I think its fun to find a reasonable use for something. Weather its re-purposed materials or leftovers from another project it can be fun to maximise a materials potential. I also like buy new wood. Each piece of wood is unique and while some is very similar, others can be very special and unique. It all has beauty. Even plainness can be beautiful we don't have to build dressers out of burl. (Burl is very nice). That being said. Scraps are only scraps because they are left over from something else. They can still be very nice.
I started out layering some thin strips of veneer to make the joints between the segments more intentional. Just enough to add a small pop. I used Titebond wood glue. Its simple to work with and I have plenty. Some open grained wood can really soak up glue and this veneer was trying to set a record or something. I placed wax paper outside the veneer so the glue wouldn't stick to the plywood i was using to clamp it all together. It worked great. when it was dry, the paper pealed off and I had a nice little home made veneer sheet of three ply plywood. I noticed that it would warp if it was still wet from gluing so I gave it extra time to let it dry.
Next I cut the segments with a miter saw taking extra care to not remove any digits and to have nice even clean joints and segments that where all the right length.
I can make a post about
calculating everything from angles to lengths later.
I didn't want to sand forever so i just spent a few extra minuets making clean cuts. I don't know what you can avoid having to sand some but I think the less i have to sand, the less chance i have to making things harder later. Mahogany is an open grained wood but it was nice to work with.
After cutting the segments, and the joint inserts, I made sure everything fit nice and tight. Glue will fill gaps but I don't want huge layers of glue so Just a little fiddling and things where ready for glue.

This is where things take a some extra thinking and planing. Its not hard but It helps to have everything laid out before hand so your not looking for something while glue is drying before your ready. Once glue is everywhere, it needs to be clamped. I used a simple band or hose clamp. These are nice as they have lots of clamping power with a small amount effort. It doesn't take much to clamp this together. Actually its easier to over do it that you think. we need the glue to hold these pieces together and if we clamp it as tight as we can then we will squeeze all the glue out and have a week link. Some people don't use clamps. I not that brave. Later I tried just rubber bands. They work great. On larger work, I like these hose clamps but on small stuff i think rubber bands work just fine too.
 Then its just a waiting game. I don't like watching glue dry so I did this gluing just before I went home for the day.
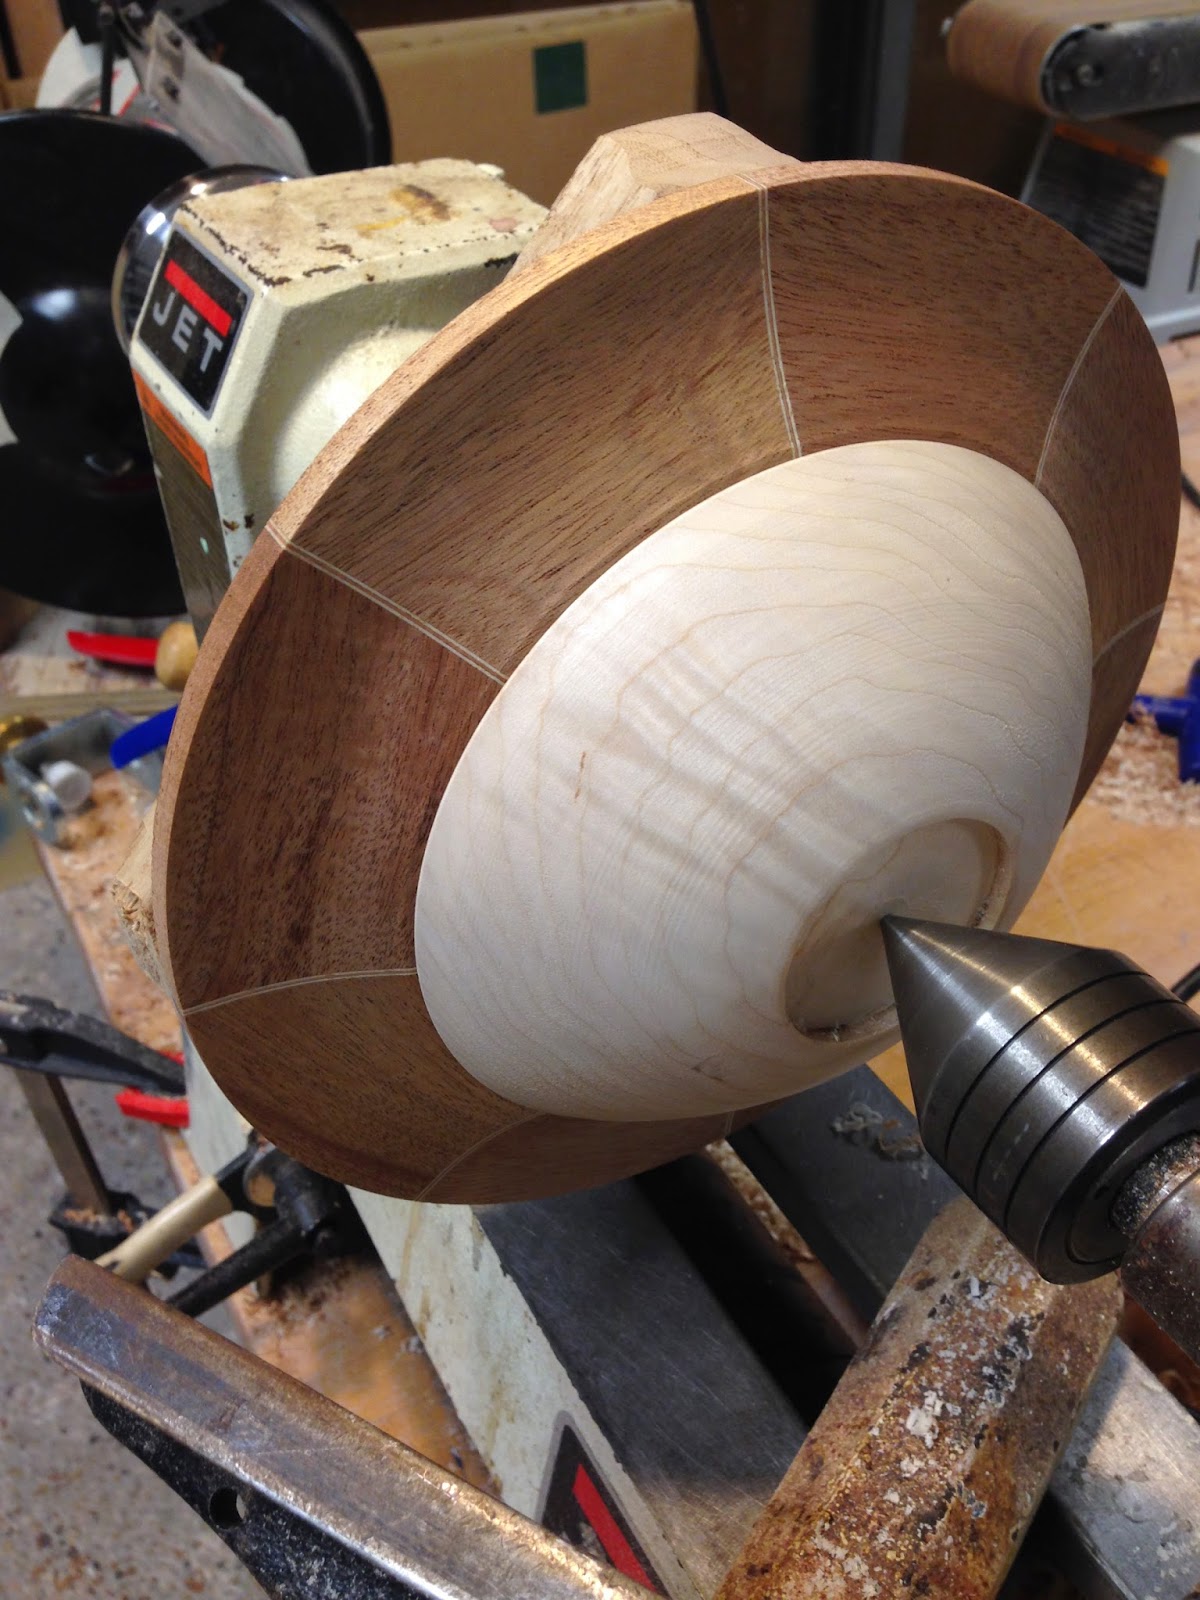
From this point things where fairly simple by ways of wood turning. I glued my ring to a waste block, turned it round and got it ready to receive the curly maple blank. I turned a small tongue and groove joint to go between the mahogany and maple to create a stronger joint and also end up with more glue surface. Sometimes, bowls will warp after you open them up. So extra care and thought needs to be given to this problem.

Once things where all ready, I glued the mahogany and the maple together. Again to avoid making more work for myself later I just took some extra time and only used what I needed. again I don't like watching glue dry so I left things over night. and I left the joint under some pressure with the tail stock to help things stay where I wanted them. Before I glued the maple into the mahogany ring, I turned the food so i could use an expansion chuck to hold this when i tuned everything around and finished things from the other side. I think I found a simple and smart way to hide this later.
This is a step by step process and at certain times we reach points of no return. Its hard sand thing when you can hold them with a chuck or get to them so its important to bethinking as you go along, "Is there anything else i need to do before I move forward"?
 It was exciting to turn this around and see it hold together. Up until this point, the segmented ring had been glued to a face block. There are to many true stories about segmented ring blowing apart when they lathe was turned on. I didn't that that problem with this though.
After finishing the edge and sanding everything the bowl itself was done. I had some more pieces of mahogany that I used for the foot and the crown of the pedestal. I also had a small piece of Kingwood i used for the stem of the pedestal. Remember the gap in the bottom of the bowl for chucking? I just turned that into mores and tenon joint. I left a lip to mirror the rim of the bowl. I think it turned out better than I expected. All the parts where turned with a snug fit. No point in being sloppy after all this work.

To finish this bowl, I wiped everything down with two or three coats of a sanding sealer cut back with lacquer thinner. then it was all buffed with a Tripoli compound. Finally, I buffed everything with a hard wax. Before the final buff, I did glue all the pieces together. I wanted to avoid wax getting where I needed glue.
It ended up with a nice shine but its not a high gloss. I want the wood to be visible.
 Sometimes the high glossy lacquer shine can be hard to see into the wood. It looks great!
Its possible that I might be bias.
I plan to make another bowl similar to this sometime in the future. I would like to try a different combination of woods. Maple and Walnut has nice contrast. Or maybe maple and purple hart. We will have to see what other blocks of curly maple i have lying around.
Thanks for reading.


Comments
Post a Comment